Hanging Garden DIY
Hanging Garden DIY

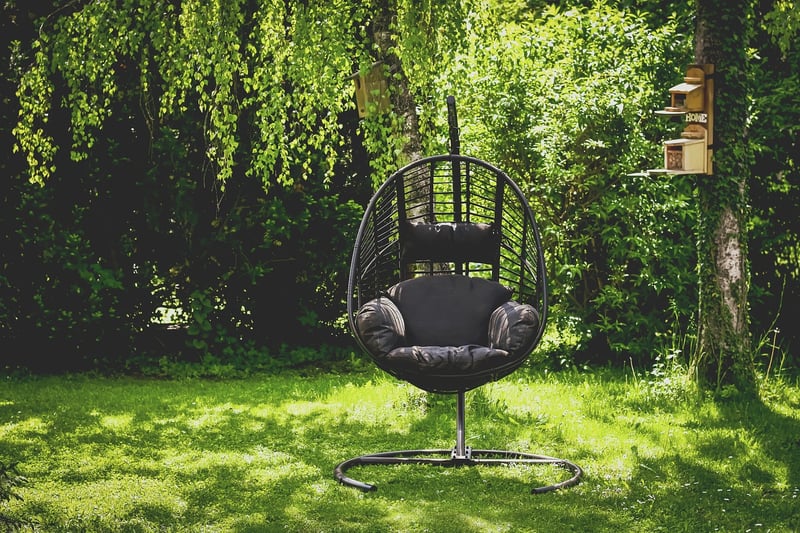
The Beauty of Vertical Spaces: Create Your Own Hanging Garden
When it comes to adding greenery to your living space, why limit yourself to traditional potted plants on the ground? Vertical gardening offers a creative way to maximize your space and bring nature indoors. One of the most popular vertical gardening techniques is creating a hanging garden. In this DIY guide, we'll show you how to easily set up your own hanging garden to add a touch of green to any room.
Materials You'll Need:
- Vertical planter pots or containers
- Sturdy hooks or brackets
- Plants suitable for hanging gardens (e.g., ivy, spider plant, pothos)
- Potting soil
- Watering can or spray bottle
Step-by-Step Guide:
- Choose a sunny spot: Select a location near a window where your hanging garden will receive enough sunlight.
- Install hooks or brackets: Securely mount hooks or brackets on the wall or ceiling where you plan to hang your planters.
- Prepare your plants: Gently remove the plants from their pots and loosen the roots before transplanting them into the hanging containers filled with potting soil.
- Hang the planters: Hang the filled planters on the hooks or brackets, making sure they are stable and well-supported.
- Water and maintain: Water your plants regularly, ensuring that excess water can drain out of the bottom of the containers. Prune and fertilize as needed to promote healthy growth.
Benefits of a Hanging Garden:
Creating a hanging garden not only adds a decorative element to your space but also offers several benefits:
- Maximizes vertical space
- Improves air quality
- Brings nature indoors
- Easy to maintain and water
- Adds a touch of greenery to any room
So, why not elevate your indoor gardening game with a beautiful hanging garden? It's a simple and effective way to transform any space into a lush oasis.
Get Inspired:
Check out these stunning hanging garden ideas for more inspiration: